
Have you ever found that one pair of jeans that you want more than chocolate cake, only to discover in the dressing room that the legs are too long? With denim companies like KanCan Jeans, Flying Monkey Jeans, Levi's, or Silver Jeans Co, you may deem it necessary to hem a few inches so your new favorite jeans fit you accordingly!
Fear not my vertically challenged friends! Here is a quick 8-step tutorial on how to hem your jeans with the original hem. Super easy and fast, this DIY tutorial is perfect for everyone!
How to Hem Your Jeans?
Step 1: Measure and determine your inseam length (This is the seam on the inside of your leg and is the second number listed on the size you buy). If you already know what length you currently buy, use that measurement. My inseam measurement was 31.5-inches.

Step 2: Fold the fabric in on itself at the inside seam until it measures the length you want. Think of it as if you are making a pleat on the inside of the jean. You will line up the fold on the outside directly next to the thick stitching at the hem. NOTE: The original hem will be included into your inseam measurement.
Step 3: Use sewing pins to pin your new hem in place. Don’t be shy! You want it to stay in place. Start at the inside seam, and pin it in place as you go around the bottom.

Step 4: Repeat on the other leg.
Step 5: Line the legs of your pinned jeans up and make sure they are even. It they aren’t–adjust them and re-pin.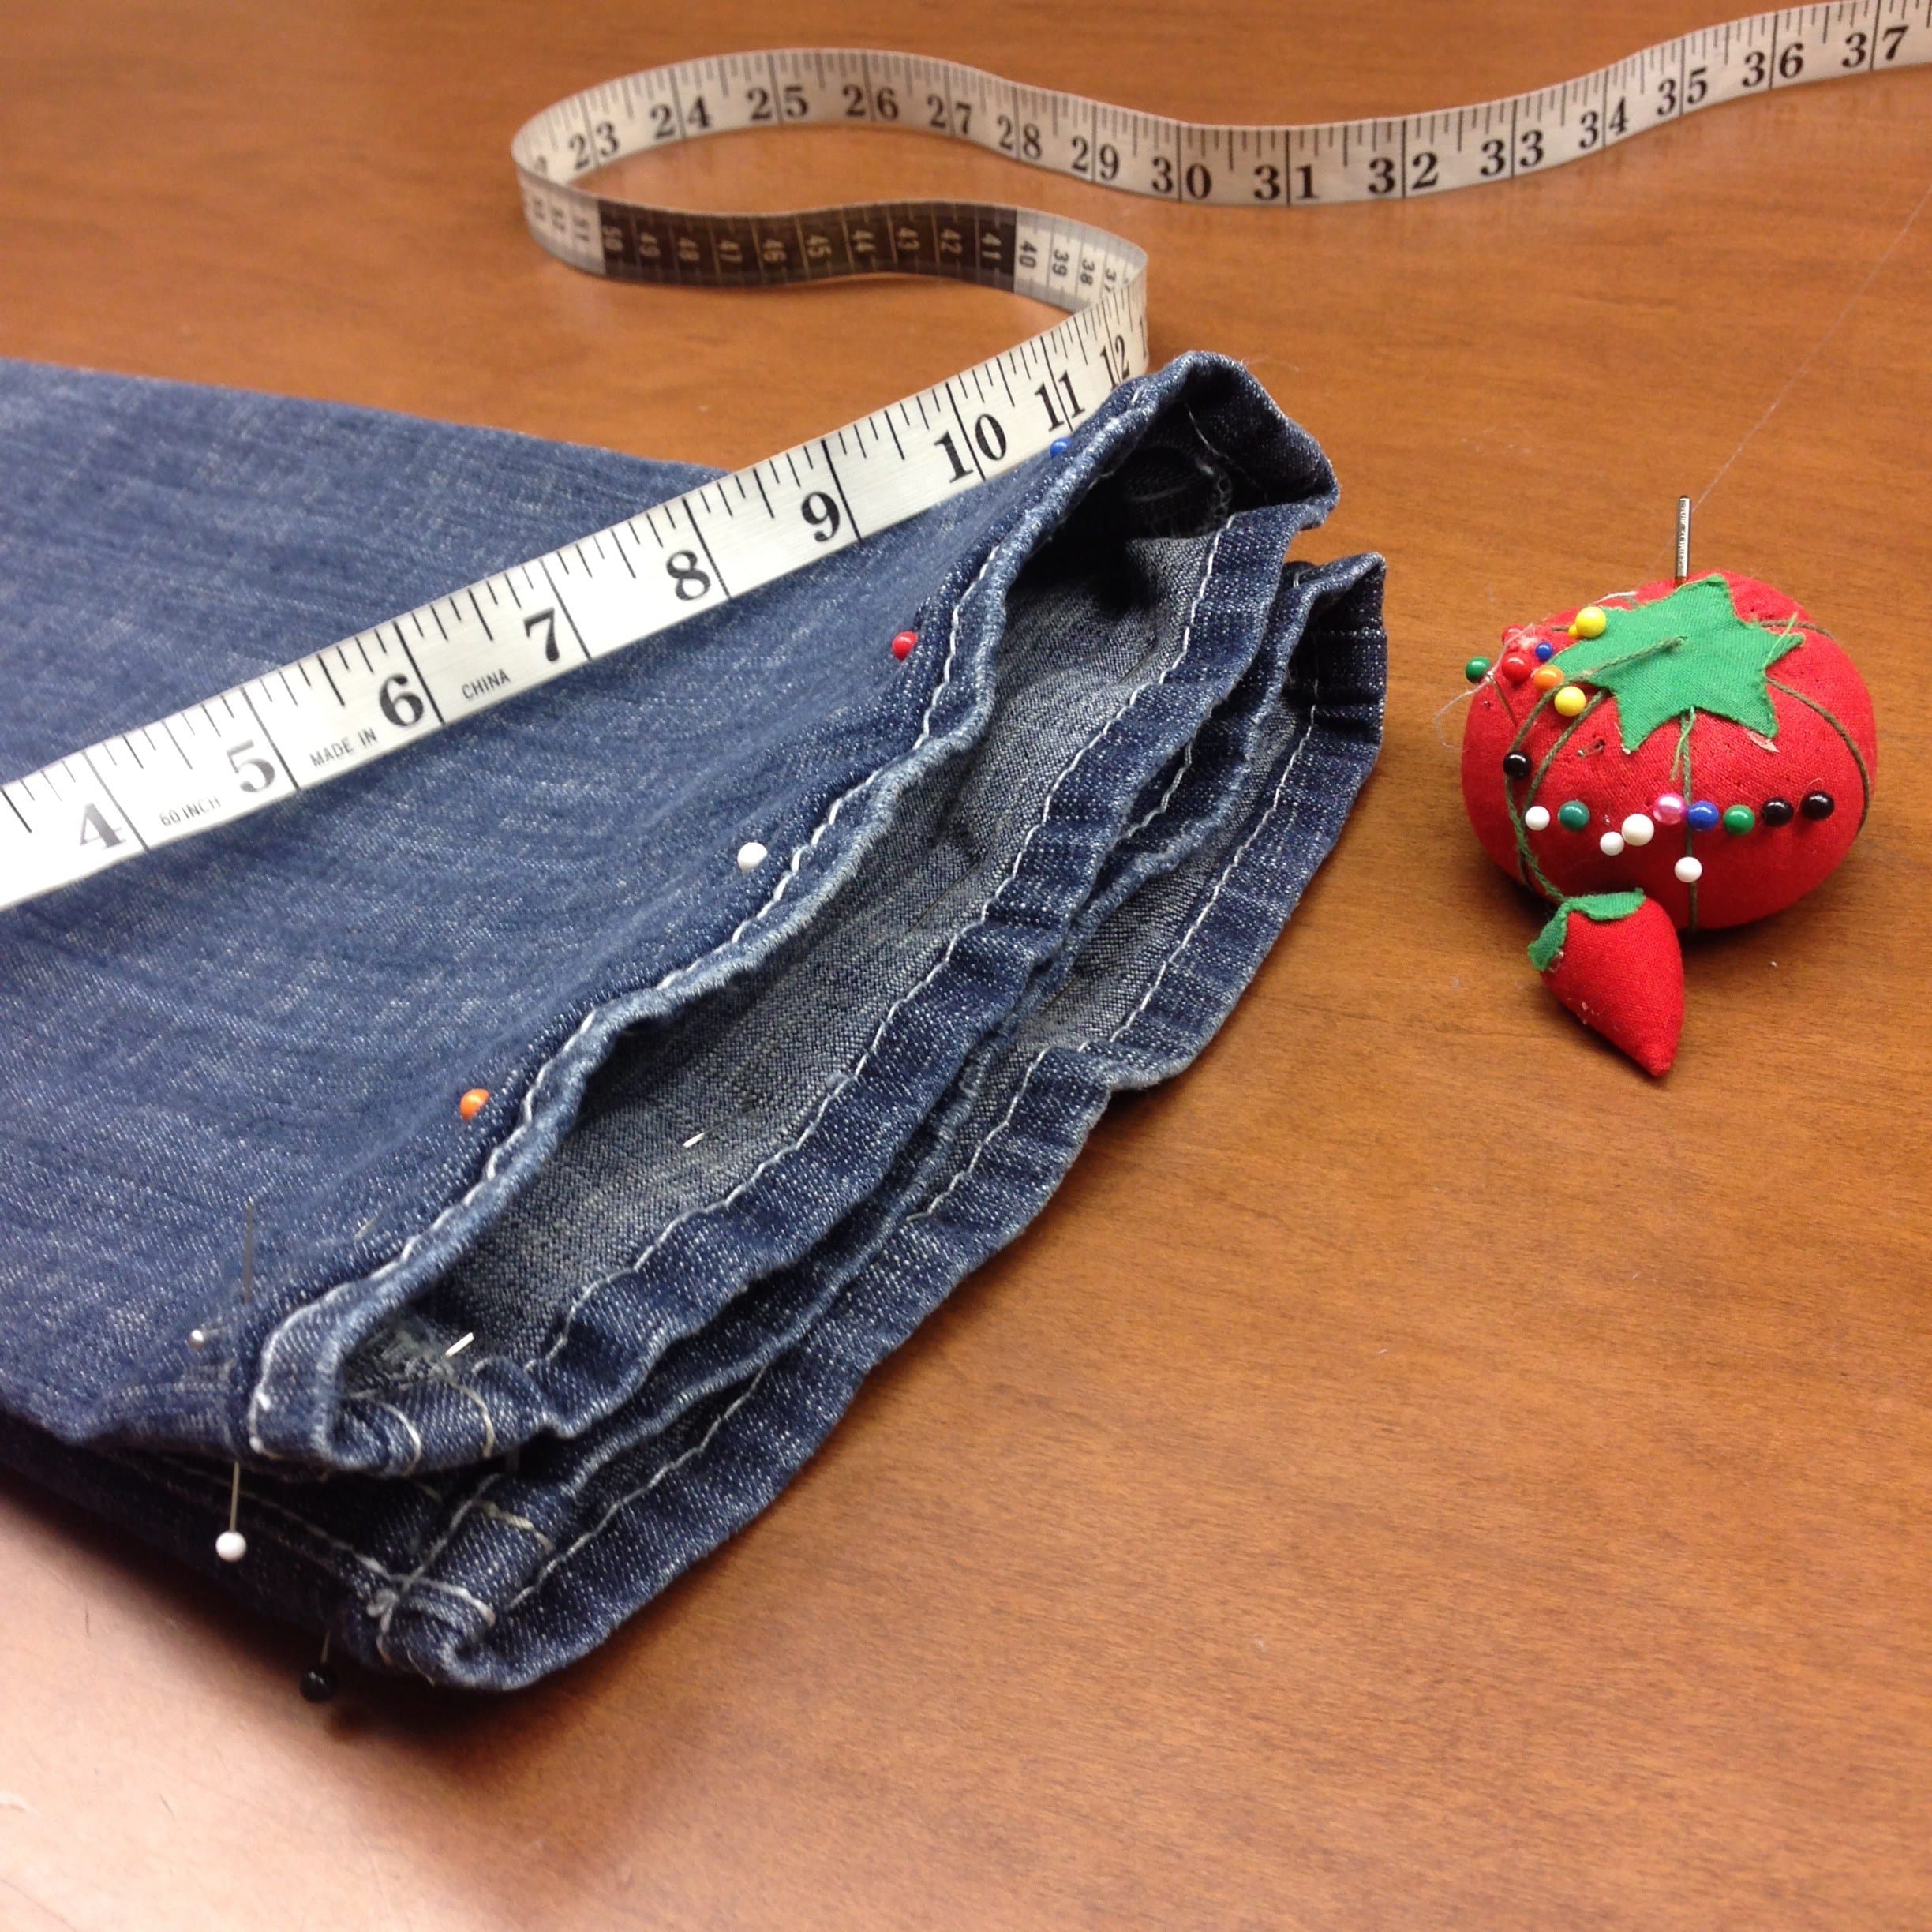
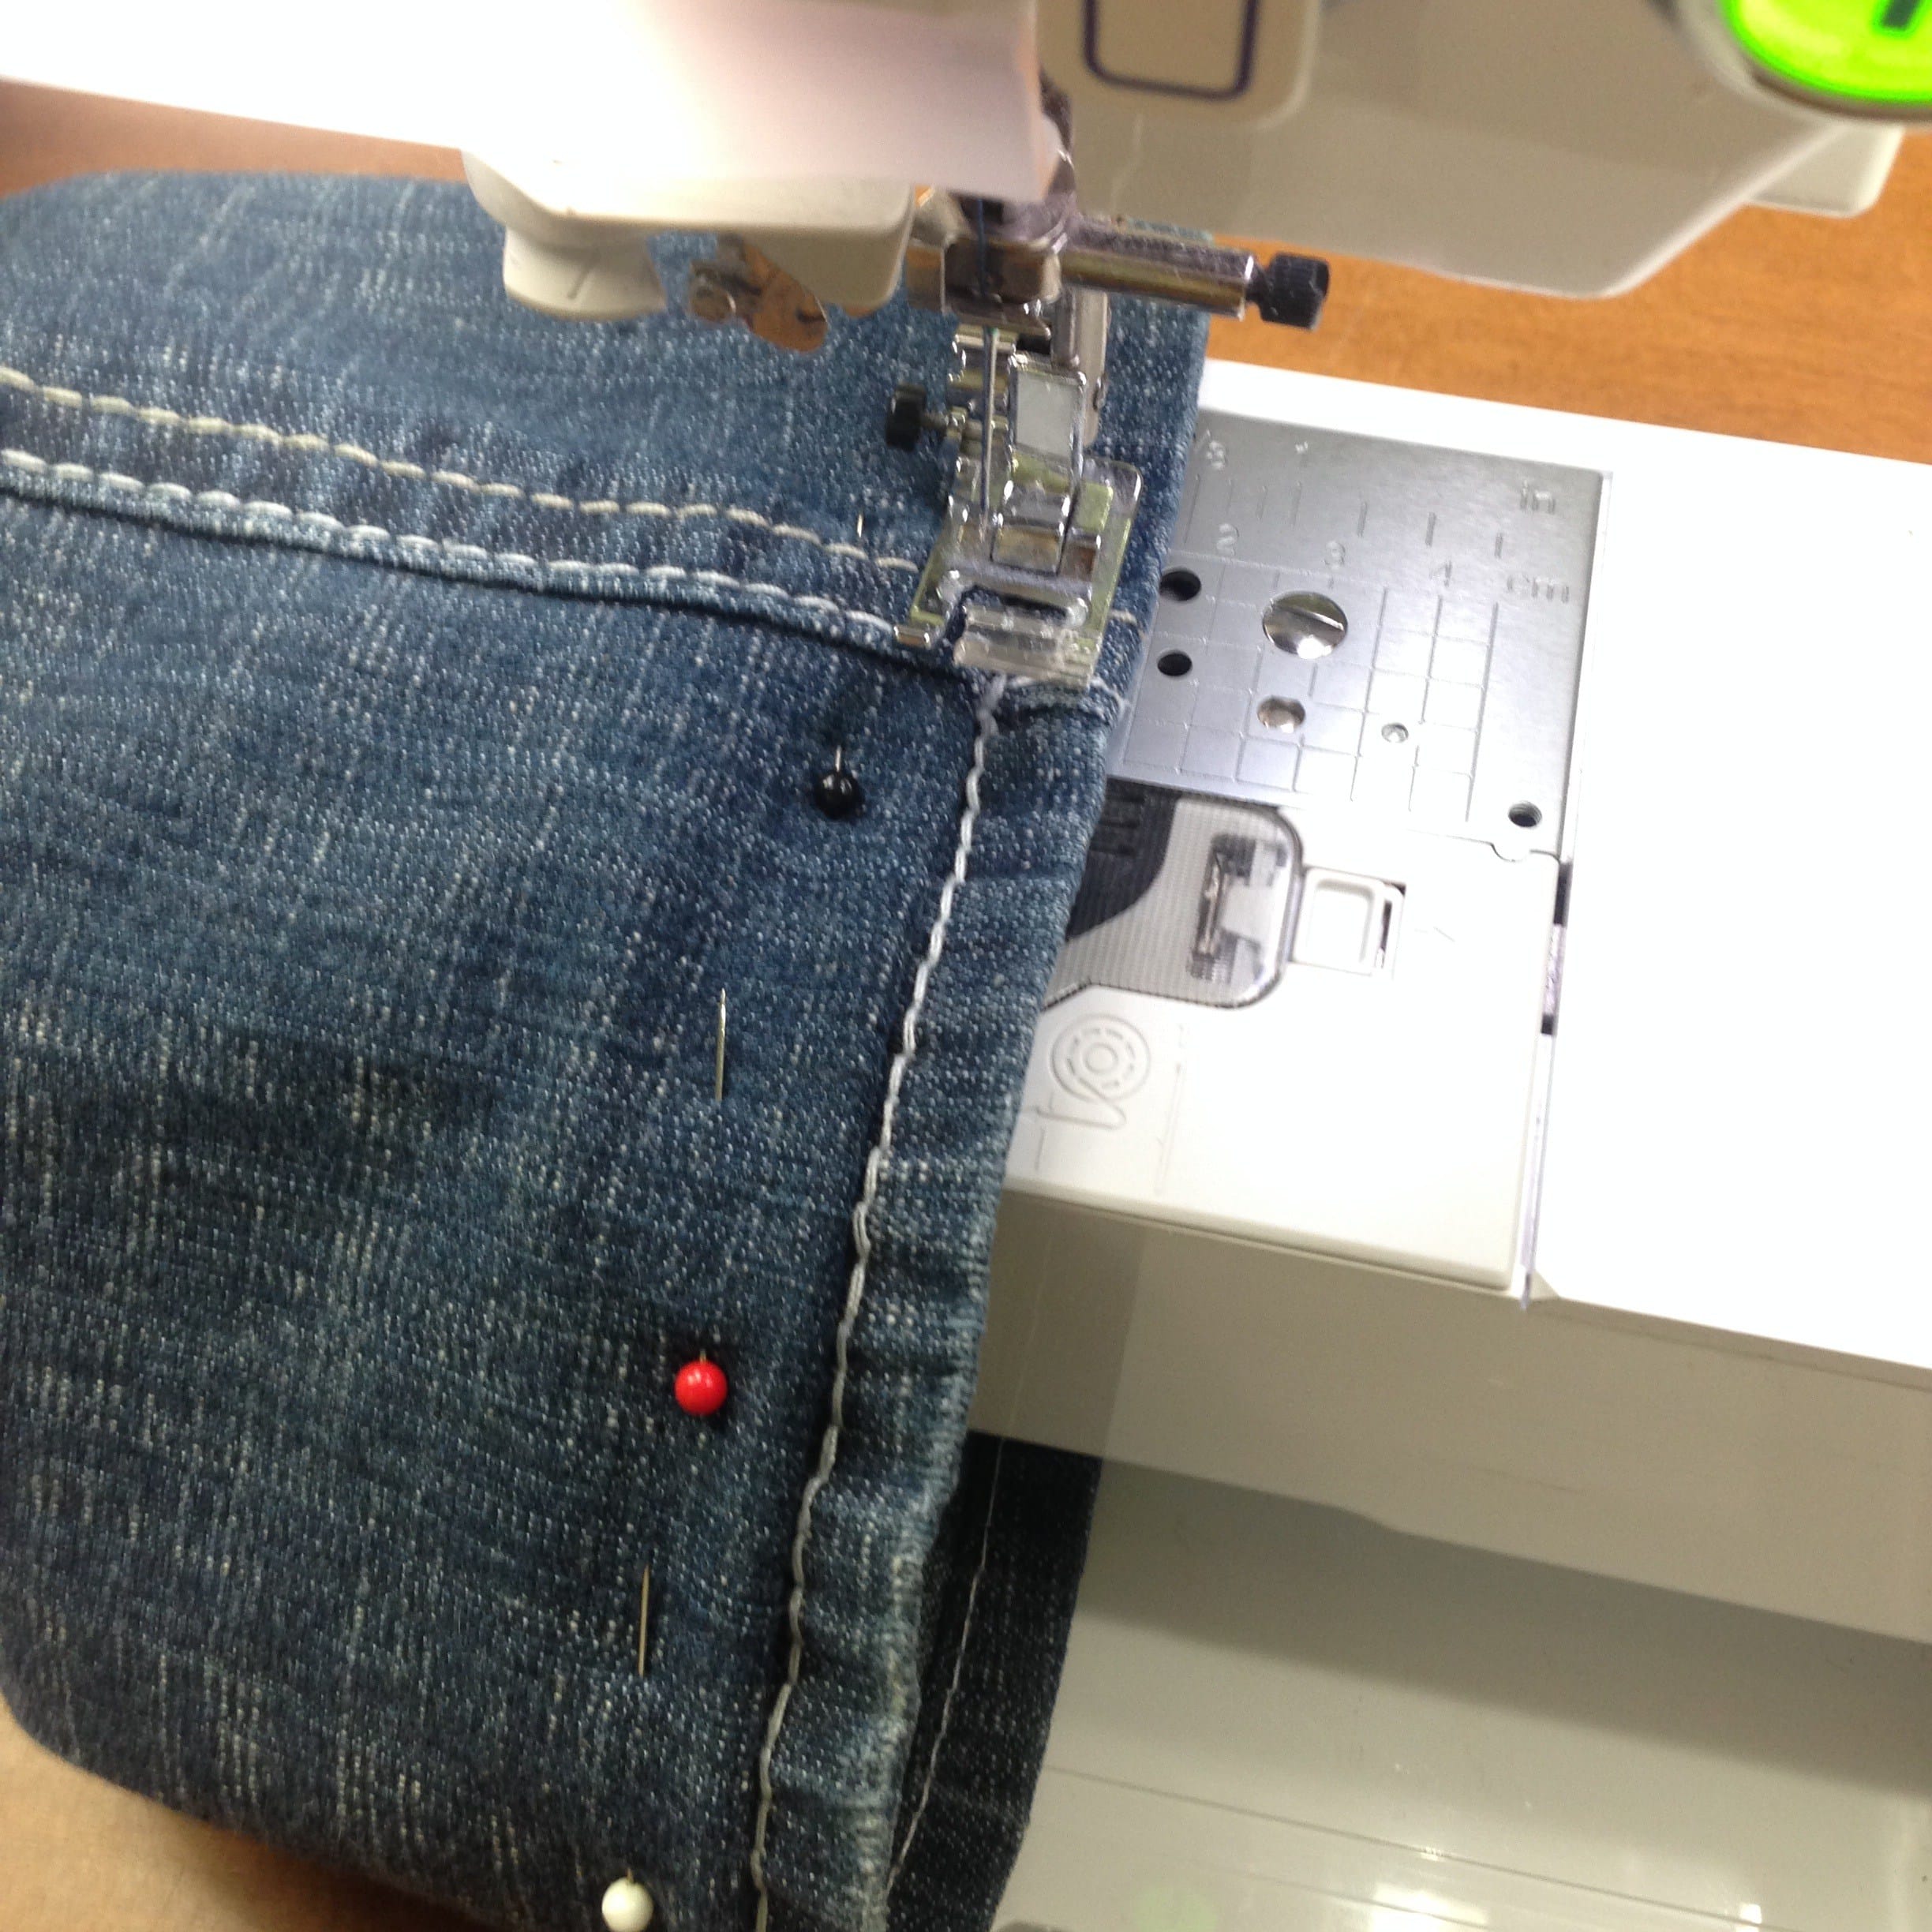
Step 6: Pick out a thread that will blend in with your denim jeans. Start sewing a basic basting stitch at the inside seams, removing pins as you go. Back stitch at the beginning and the end.

Step 7: You will have a flap inside of the jean. If you want, you can remove it by cutting the extra fabric along the seam, leaving a ½-inch seam allowance. If you want a less permanent fix, you can press the seam with an iron and hand stitch each side in place. This way, you can always remove the hem and return the jean to its original length. Or you can just leave it alone! (That’s what I did)


 Step 8: Enjoy your new DIY hemmed jeans!
Check out our women's denim selection here! And, find us on Instagram for more style inspiration and DIY's to expand your fashion forward closet!